
How to Measure a Room With a Laser Measure
A quick, practical guide to using a laser distance measure to capture room dimensions accurately for a floor plan.
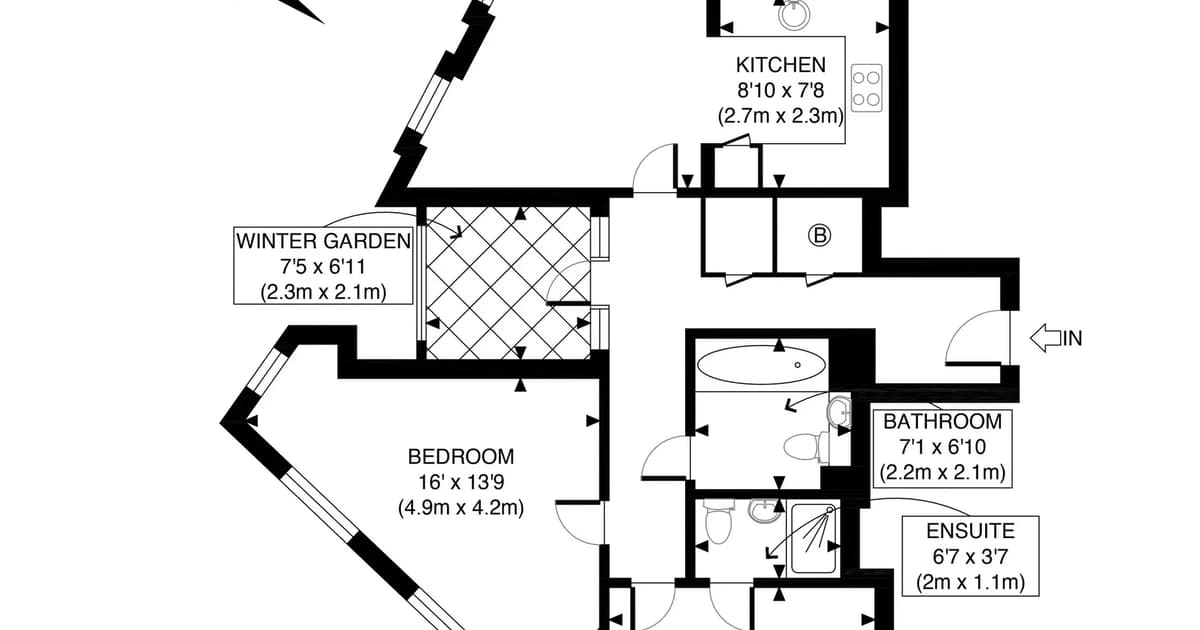
How do you measure a room with a laser measure?
Stand the laser measure flat against one wall and aim it at the opposite wall to read the distance. Measure each wall in turn working clockwise, record the readings in metres on your sketch, and cross-check that opposite walls add up. For walls longer than the laser's range, use a reflector or the device's add-on functions.
Key takeaways
- Rest the laser flat against the wall and aim at the opposite surface.
- Work clockwise and record each reading on your sketch.
- Use metres for consistency.
- Cross-check opposing walls so totals agree.
- For long or obstructed walls, use a reflector or measure in segments.
A laser distance measure makes capturing room dimensions quick and accurate, and you can do it on your own. Here is a simple method for measuring a room ready for a floor plan.
The basic technique
Stand the laser flat against one wall, with its base touching the surface, and aim the beam at the opposite wall. Press the button and read the distance. Most measures let you switch to a continuous or "tracking" mode so you can fine-tune your aim until you hit the right spot.
Record each reading in metres directly onto your sketch, next to the wall it belongs to.
Work in a consistent direction
Start from the same corner in every room — ideally nearest the door — and work clockwise around the perimeter. A consistent direction means you are far less likely to skip a wall or record one twice.
Handling tricky walls
- Long walls beyond the laser's range: tape a sheet of white card to the far wall as a reflector, or use the device's Pythagoras / add-on function.
- Obstructed walls (furniture, radiators): measure in segments and add them up.
- Alcoves and chimney breasts: measure their width and depth separately and note their position.
Cross-check before you finish
The single best habit: in each room, add up the segments along one wall and compare them to the opposite wall. They should match within a couple of centimetres. If they do not, re-measure the suspect wall before you move on. This catches most errors. See common floor plan measuring mistakes for more.
Turn your measurements into a plan
Once you have measured each room and sketched the layout, upload it to Sketchplan and we will redraw it into a clean, professional floor plan. For the full measurement checklist, see what measurements you need for a floor plan.
Ready to turn your sketch into a floor plan?
Upload your hand-drawn sketch and measurements and our team will redraw them into a clean, professional floor plan — ready for listings, brochures and marketing.
- #laser measure
- #measure a room
- #floor plan measurements
Frequently asked questions

The Sketchplan Team
Floor Plan Specialists
The Sketchplan team redraws hand-drawn sketches and measured notes into clean, professional CAD-style floor plans for estate agents, landlords, homeowners and property photographers across the UK.
Turn your sketch into a professional floor plan
Upload a hand-drawn sketch, measured notes, an old floor plan or a rough layout and our team will redraw it into a clean, professional floor plan.
Order on sketchplan.rehub.studio · see how it works
Keep reading
Related guides
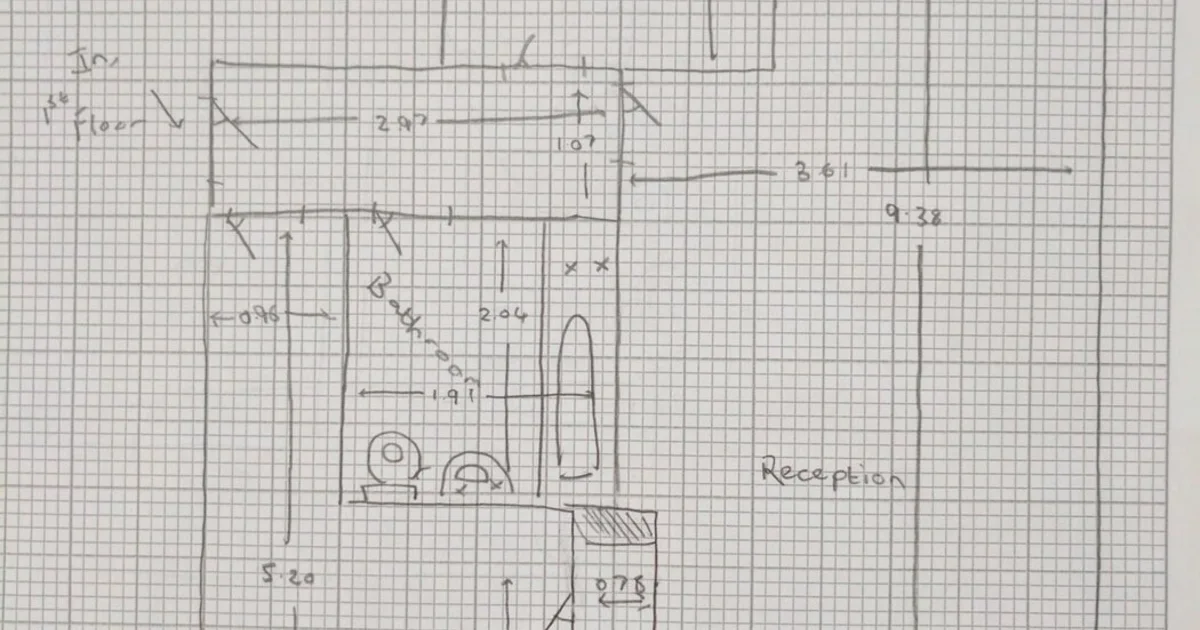
What to Include in a Viewing Sketch (Floor Plan Checklist)
A field checklist for estate agents and photographers: what to capture on a viewing sketch so your floor plan comes back accurate first time.
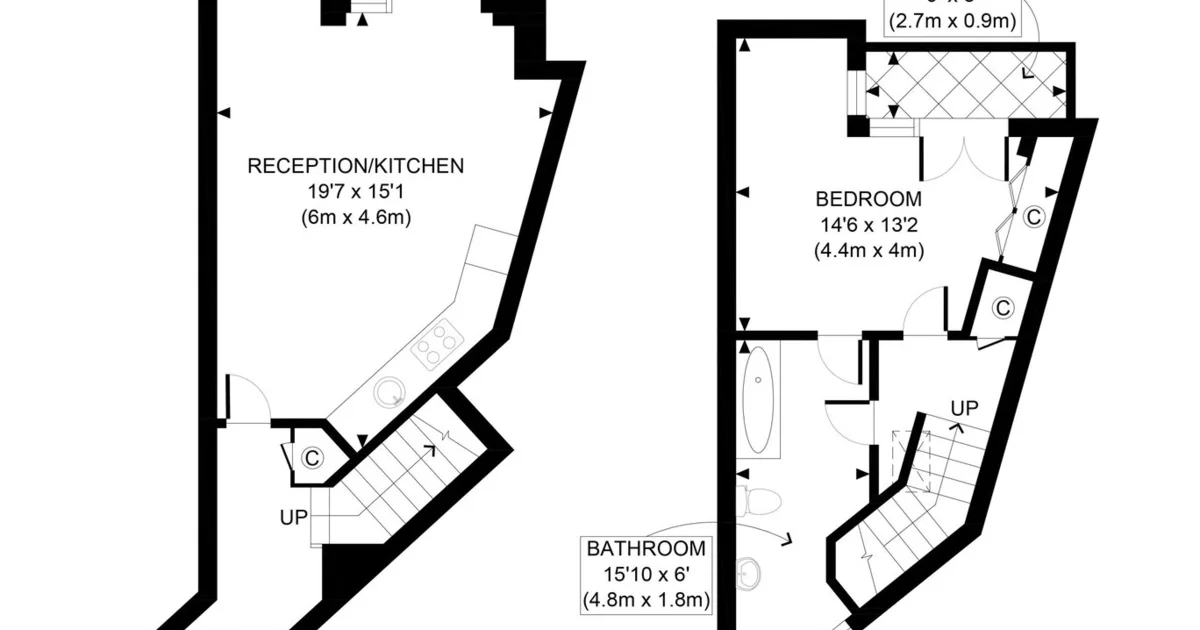
Do Floor Plans Help Let a Property Faster?
Why clear floor plans improve lettings enquiries, reduce wasted viewings and help tenants self-qualify — especially for flats and HMOs.
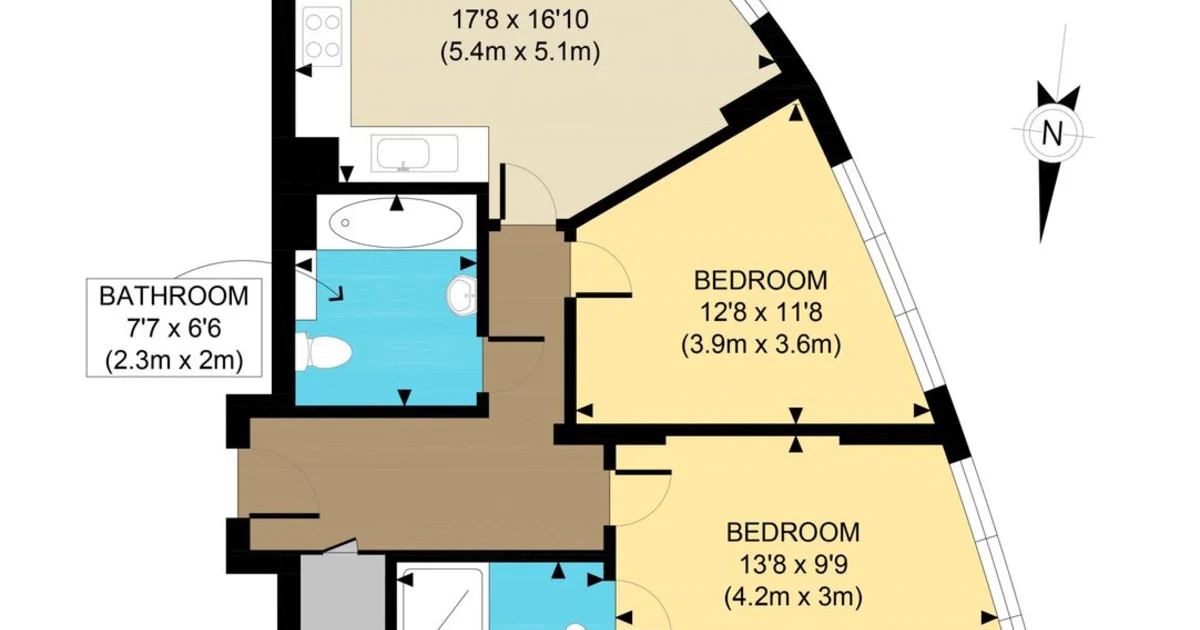
Feet & Inches Floor Plans for US MLS and Zillow
How US and Canadian agents get listing floor plans in feet and inches for MLS, Zillow and Realtor.com — without booking a separate measuring company every time.